- Home
 Atmolytics
-
Apps
-
Identity check
-
Identity Check: report creation
Identity Check: report creation
To create an Identity Check report:
1 Select the App
2 Follow the Who: step to choose the cohort you want to report on
You’ll be taken to the What: screen:

Here you’ll:
- Select items to include in your report;
- Choose any additional items to include; and
- Choose the first column of the report output
These steps are fully explained in the tabs below.
-
1
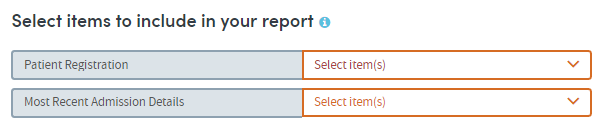
Select items to include
Certain datasets are pre-loaded into this part of Atmolytics, and you must choose at least one item from them. These will be datasets containing identifying information that will enable the creation of an Identity Check report.
In this instance, Patient Registration is the mandatory dataset:
Click the drop-down arrow to select items from the datasets:
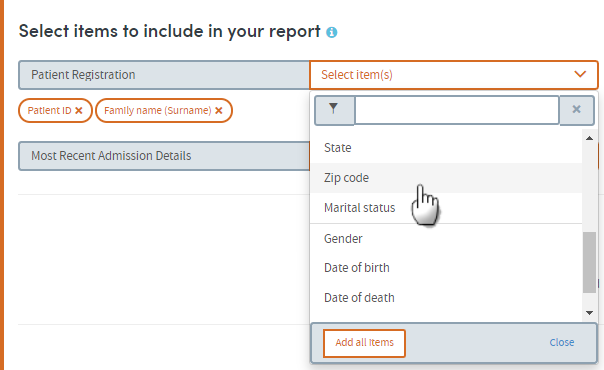
There are two ways to identify and select items: by choosing from the drop-down list and by searching.
- Click the orange cross next to an item if you want to remove it.
- You can also choose to Add all items if you prefer.
Search for items
Start typing your search text into the search box:

The list below will dynamically display all the items containing your search text, wherever it appears in the name:
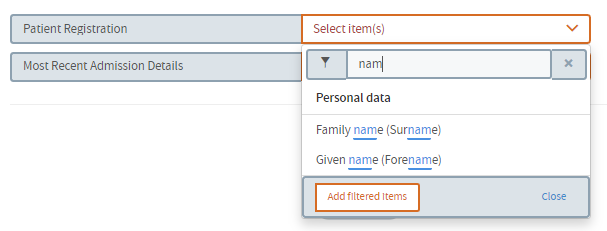
Click the text of an item to select it for inclusion in the report. The item name will appear next to the search field. Continue searching and adding items as necessary.
-
2
Select additional items

As well as the main datasets in the top section, you can choose to add items from additional datasets if you wish. First you need to select a dataset and then choose the items from that dataset.
Click the drop-down arrow to choose a dataset:
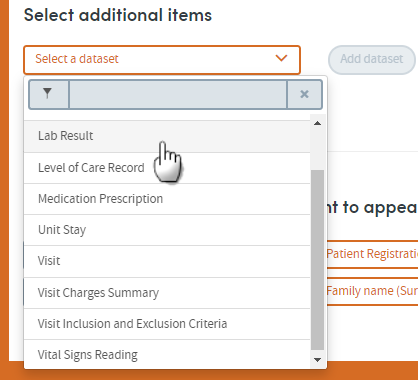
You can choose datasets by selecting from the drop-down list, or by searching (see below).
Once you’ve chosen a dataset, click the Add dataset button.
You’ll then be able to choose items from that dataset:

Again, use the search field or the drop-down list to choose items. You can add as many items as you wish, from any of the datasets available to you.
Search for items
Start typing your search text into the search box:
The list below will dynamically display all the items containing your search text, wherever it appears in the name.
Click the text of an item to select it for inclusion in the report. The item name will appear next to the search field. Continue searching and adding items as necessary.
For these items, report on:
If you select additional items for inclusion, an advanced option will become available:
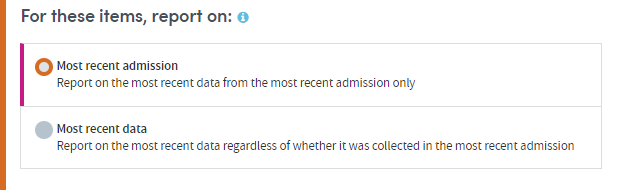
Data items may have been recorded several times for each patient. Only the most recently recorded data item for each patient is included in the report. You have two options when deciding which data to include:
Most recent admission/visit
This option selects the most recent data items recorded during the most recent admission/visit only.
Example
Patient A has had three admissions/visits, but only had their blood pressure recorded during the first one.
Selecting the Most recent admission/visit option means that if you choose to include the blood pressure data item in your report, this part of the report will be blank for Patient A, as their blood pressure was recorded during a previous admission/visit.
Most recent data
This option selects the most recent data items that have been recorded, regardless of when that was.
Example
Patient A has had three admissions/visits but only had their blood pressure recorded during the first one in 2011.
Selecting the Most recent data option means that if you choose to include the blood pressure data item in your report, this information will be included for Patient A, even though this data was recorded several years ago during a previous admission/visit.
-
3
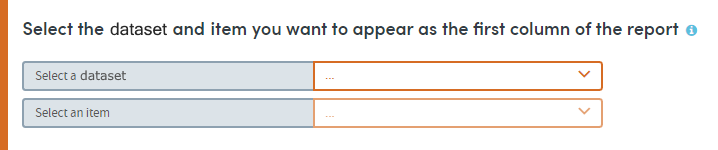
First column of report
Choose the item you want to form the first column of your report. First, choose the dataset, then select the item:
Click Next when you’re happy with your selections, and move on to the Where: step of the process.