- Home
 Care Partner
-
Software
-
Getting started
-
Work List
Work List
When you first log in to Care Partner, you will be taken to the work list screen.
My List is a list of service users, created by each user according to their own work priorities. It is individual to each staff member and allows them to create a list relevant to their work pattern. This list can reflect the service users that the staff member will see this day, week or month, or sees frequently.
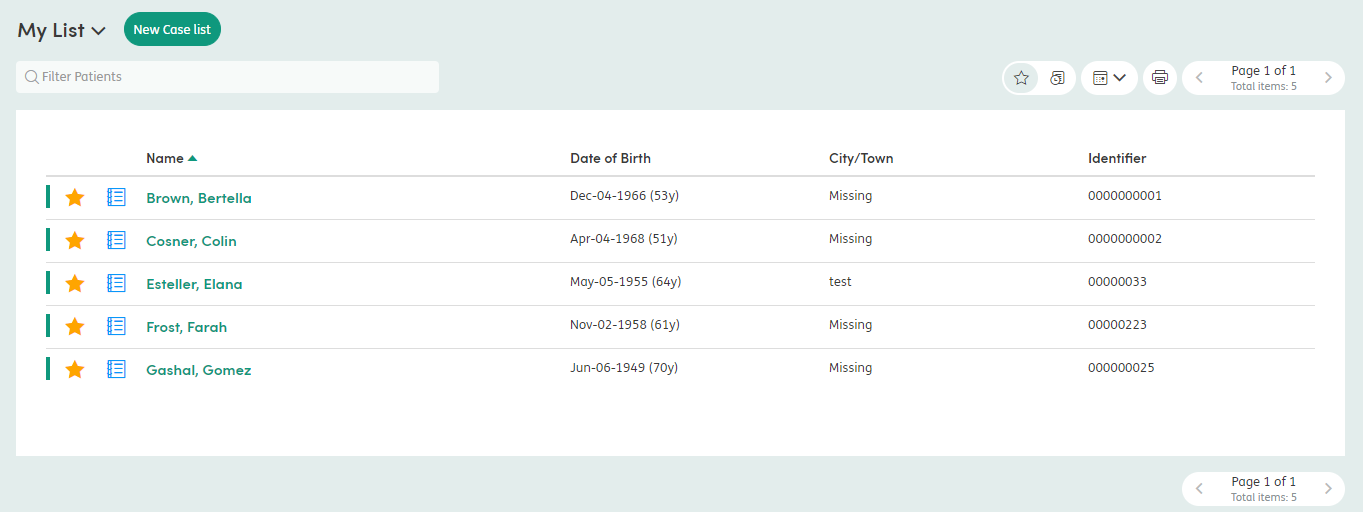
Within My List, you can create a list of service users regardless of any associations they have, assuming you have permissions to access their records and add them to your work list. Service users are added or removed from My List by clicking the  icon next to the service user’s name.
The My List you create will only be visible to you or anyone who logs in on your behalf. If you are able to login on behalf of multiple staff members, you will see the My List belonging to the person you have logged in as.
When you first log in, there will be no service users in My List.
![]()
![]()
At this point you can choose the New Work List button either in the middle of the screen or top of the screen to view a work list for a particular centre of care, role or staff member.
Types of worklists:
- Centre of Care: Contains a group of service users with an involvement to a particular Centre of Care / Department.
- Role: Contains a group of service users with an association to a particular role or staff member.
- Caseload: Contains a group of service users that come under a particular staff member’s caseload.
Work List Features
Below is an explanation of the features available in all of the work lists.

-
1
Filter Service Users: Search the work list that you are currently viewing. The results will filter below as you type.
-
2
Work List: This displays the service users within the work list.
-
3
Shift notes: This displays the Summary of contact for all service users in the work list within a set period.
-
4
Calendar: This displays a list of Calendar events for all service users in the work list. This works with lists of 100 service users or fewer.
-
5
Print: Prints the work list on the current screen. The print preview will open in a new browser window.
-
6
Pager: The work lists display 15 service users per page. Click on the forward and back buttons to look through the list.
-
7
Name: Click on the column header and the list will sort alphabetically.
-
8
Date of Birth: Click on the column header and the list will sort by date of birth.
-
9
City/Town: Click on the column header and the list will sort alphabetically.
-
10
Identifier: Click on the column header and the list will sort numerically.
-
11
Star: Click this to add / remove service users from your worklist.
-
12
New Activity: Click this to quickly start a new activity for a service user.
-
13
Service User Name: Click on the service user’s name to be taken to their record.