Users is the final link within the ‘Access Management’ area.

The Users tab includes the following features:
-
1
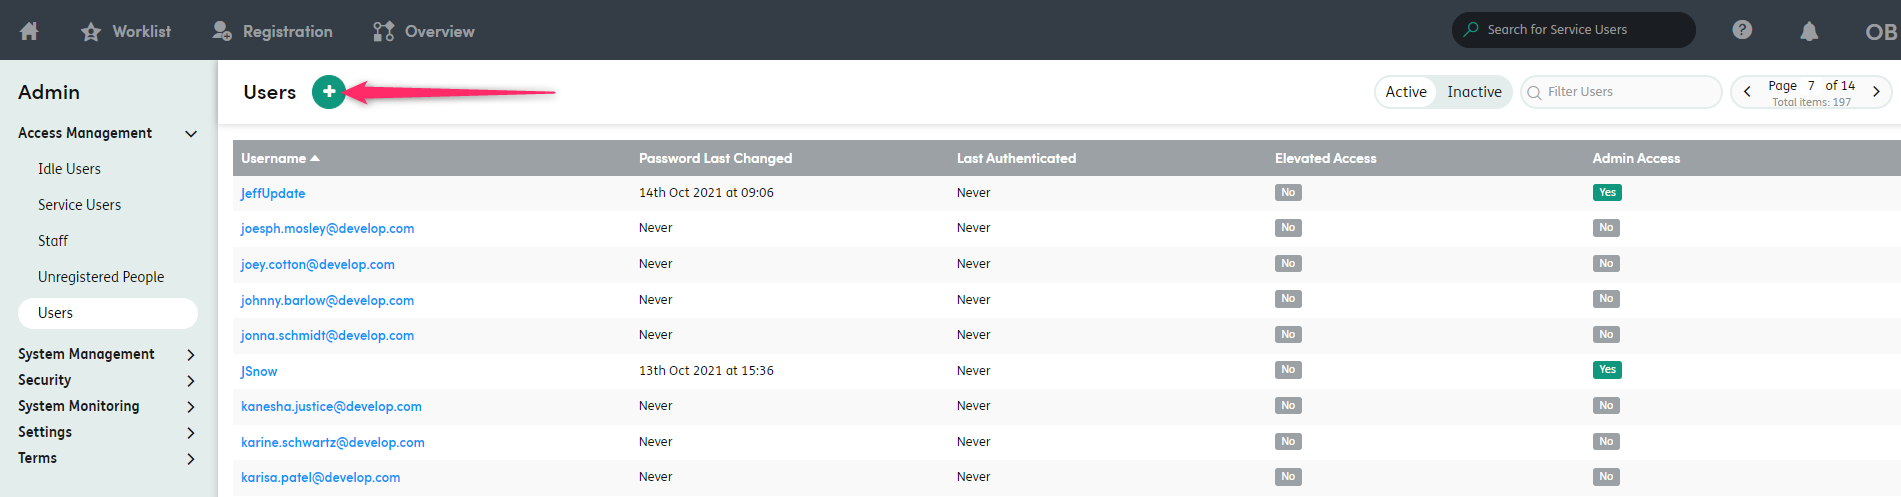
Adding Users (plus icon): Opens the step-by-step wizard for adding a new user (including associating the user with an existing/new Staff Member and assigning Centre(s) of Care, and a Security Role where relevant).
- Note: Users may be preconfigured in your system and controlled by single sign-on. You are also able to add external accounts if required.
-
2
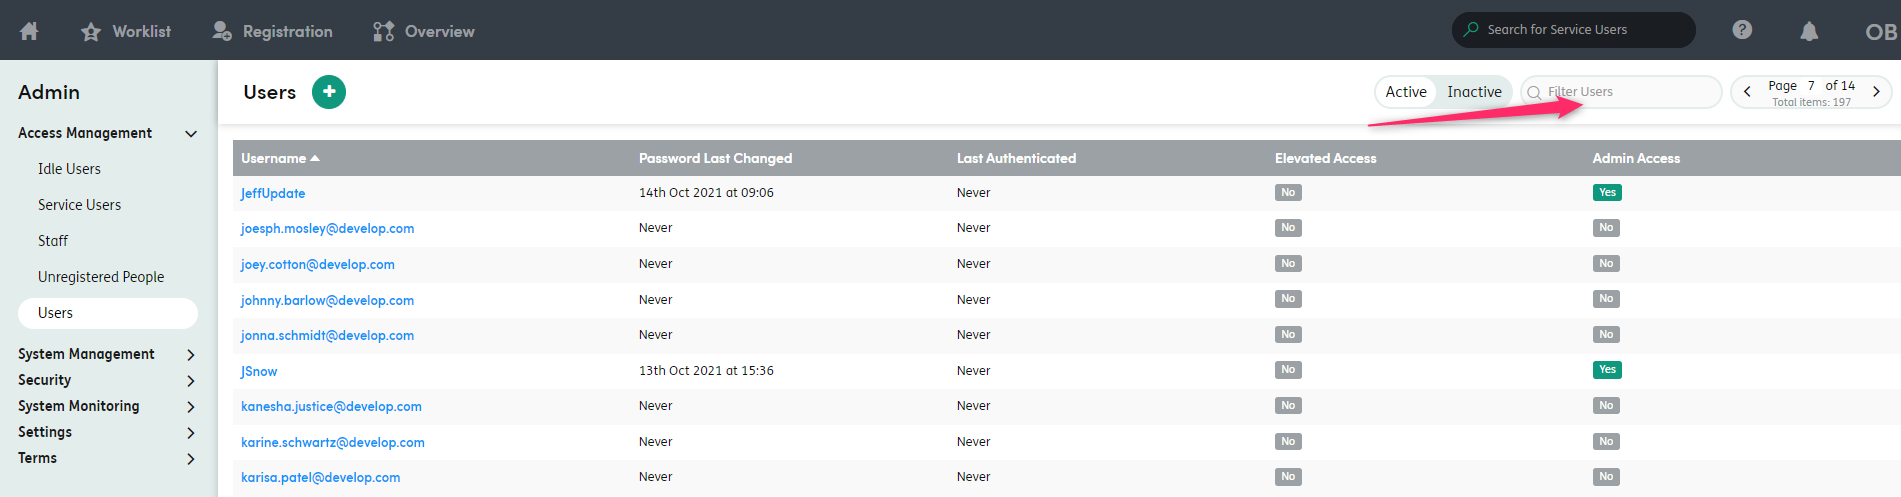
Active and Inactive: This is the default list of active users. To view the list of inactive users, click Inactive.
-
3
Filter Users: You can filter the user list by part or all of the username.
-
4
Pager: The list is grouped to show 15 users at a time. You can use the arrows to navigate through the list.
-
5
Username column: Click the header and the user list will sort alphabetically.
-
6
Password Last Changed column: Click the header and the list will sort by the date the password was last changed.
-
7
Last Authenticated column: This is the last time a user logged in. Click the header and the list will sort by the date users logged in.
-
8
Elevated Access column: Click the header and the user list will sort into those who do not have Elevated access and those who do.
-
9
Admin Access column: Click the header and the user list will sort into those who do not have Admin access and those who do.
-
10
Username links: Click a username link to open the user details. This will display the account details, which staff members are assigned and the user history
View Users
By default all active users will be displayed in the Users tab. To view inactive users use the toggle button by clicking on the Inactive setting.
Always search for users on the system before creating a new user account or cloning a user account, do this by typing in the filter users search field.
User and Staff Member Creation
Note: The on-screen process for creating a new user will work differently depending on how the ‘Enable Multiple Staff Members per User’ setting is configured in the Settings → Users area of Administration.
- Where this setting is unticked, a basic wizard is presented - to enable creation of a new user and an associated single staff member simultaneously, including Centre of Care assignment and, where relevant, assignment of a Security Role for the staff member.
- Where this setting is ticked, a more involved wizard is presented - to enable creation and association of one or more staff members for the new user (this is normally applicable where your organisation has users that need to input work on behalf of colleagues).

To access the process for creating a new user/staff member, go to the Users section and click the Plus button.
User and Staff Member Creation - Organisations using ‘one staff member per user’ configuration
After choosing to add a new user in Access Management → Users, the New Account screen will open - enabling a user and staff member to be added simultaneously.

Complete the following:
-
1
Enter the Personal Details for the new user/staff member
-
2
Enter the Username and Password for the new User. Both fields are mandatory.
-
3
Select whether the new user will be required to change their password when they first log in, using the ‘Require User to Change Password’ checkbox.
-
4
Under the Permissions section, select whether to grant the User:
- Elevated Access - Enabling access to the ‘Access Management’ category of the Administration area only (for adding and managing users and staff members).
- Admin Access - Enabling access to all of the categories and sections in the Administration area (including configuration of Centres of Care, forms, terms, system settings, etc.). You will only be able to assign Admin Access to a User if your own account has Admin Access.
-
5
Under the Centres of Care section, you will need to either select which Centre(s) of Care the new staff member should be part of (if you have Admin Access, a new Centre of Care can be created from here if required); or
-
6
In setups where there are a lot of Centres of Care to assign, the assignment of Centres of Care for the new staff member can be done by ‘cloning’ from an existing Staff Member - by searching for and selecting them in the ‘Copy access configuration from existing staff member’ field.
-
7
Once the new user/staff member’s details and access have been set, click ‘Save’ to immediately create the new user and associated staff member (with the chosen access settings).
User and Staff Member Creation - Organisations using ‘one or more staff members per user’ configuration
After choosing to add a new user in Access Management → Users, the ‘New Account’ screen will open.
You will need to do the following:
- Enter the Username and Password for the new User. Both fields are mandatory.
- Select whether the new user will be required to change their password when they first log in, using the ‘Require User to Change Password’ checkbox.
-
Under the Permissions section, select whether to grant the User:
- Elevated Access - Enabling access to the ‘Access Management’ category of the Administration area only (for adding and managing users and staff members).
- Admin Access - Enabling access to all of the categories and sections in the Administration area (including configuration of Centres of Care, forms, terms, system settings, etc.). You will only be able to assign Admin Access to a User if your own account has Admin Access.

The next step is then to choose one or more existing or new staff members to associate with the new user.
-
1
To associate a staff member already on the system with the new user account (this would normally only be if the staff member already exists due to having previously been created as a Professional Contact against a Service User)
Search for and select the existing staff member - this will then populate their name into a new section of the screen titled ‘Assigned Staff Members’ - you can then click ‘Save’
-
2
Click the ‘Create one’ link to create a new staff member to automatically associate with the new user account
This will open a new screen where the new staff member’s details can be captured - complete the relevant fields under ‘Personal Information’ and ‘Contact Information’
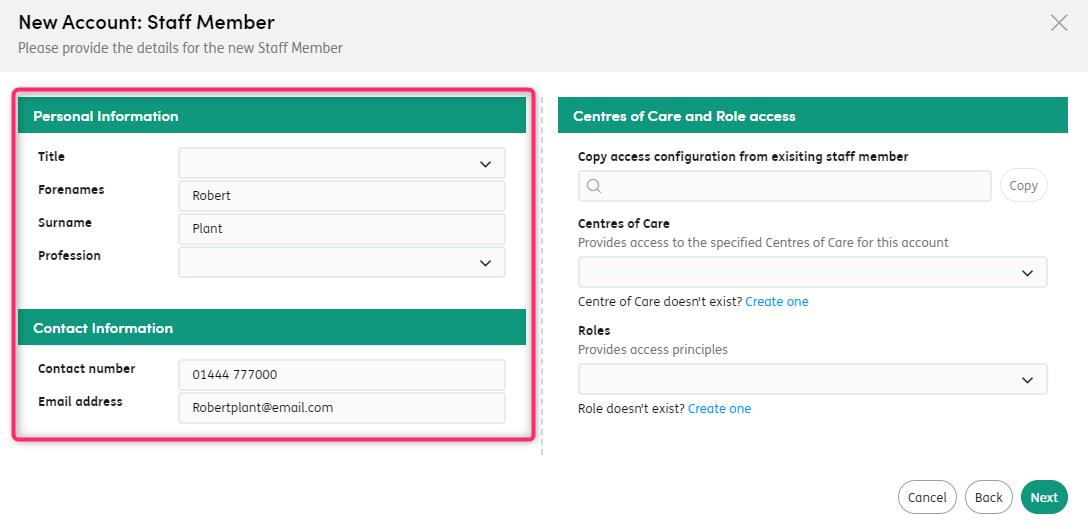
On the right hand side of the screen, you will need to:
-
- Select which Centre(s) of Care the new staff member should be part of (if you have Admin Access, a new Centre of Care can be created from here if required)
- Select a Role for the new staff member if Advanced Security is being used in the system for your organisation (if you have Admin Access, a new Role can be created from here if required)
Note: In setups where there are a lot of Centres of Care to assign, the assignment of Centres of Care and a Role for the new staff member can be done by ‘cloning’ from an existing Staff Member - achieved by searching for and selecting them in the ‘Copy access configuration from existing staff member’ field.
Once the new staff member’s details and access have been set, click ‘Next’ - this will immediately create the new staff member and add them to the ‘Assigned Staff Members’ back in the ‘New Account’ screen.
The above steps can be repeated to associate further existing or new staff members with the new user account.
Once you have finished associating staff members, click ‘Save’ to immediately create the new user (with their associated staff member(s) and chosen access settings).
-
Manually assigning Staff Members to Users
The User and Staff Member Creation Wizard explained in the above sections means that it should not normally be necessary to manually associate staff members with user accounts.
If this is required though, you can click on a user’s username in the ‘Users’ area to go to their ‘Account Details’ screen, and select the Staff Members tab.
Search for the relevant Staff Member using the filter field (if required), then click the USE button to the left of their name.
The USE button will turn green indicating that the staff member has been assigned to the User.
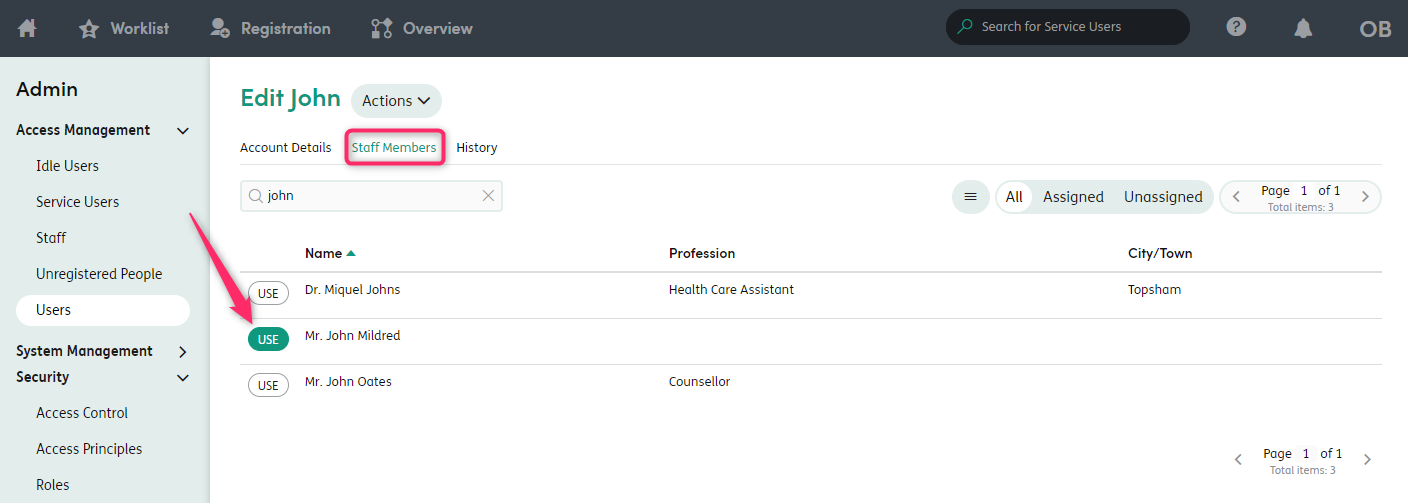
You can also quickly filter the Staff Members list by using the All, Assigned and Unassigned buttons.
If the relevant Staff Member is not available, you can add them to the system (for guidance on this refer to the Staff area).
Once a user account has been assigned one or more staff members, that user account then becomes active on Care Partner.
Edit Users
To edit an existing user account, select the Users tab and select the relevant username from the list. If you have difficulty finding the user in the list, use the Active/Inactive toggle, the Filter Users search field or the Pager.

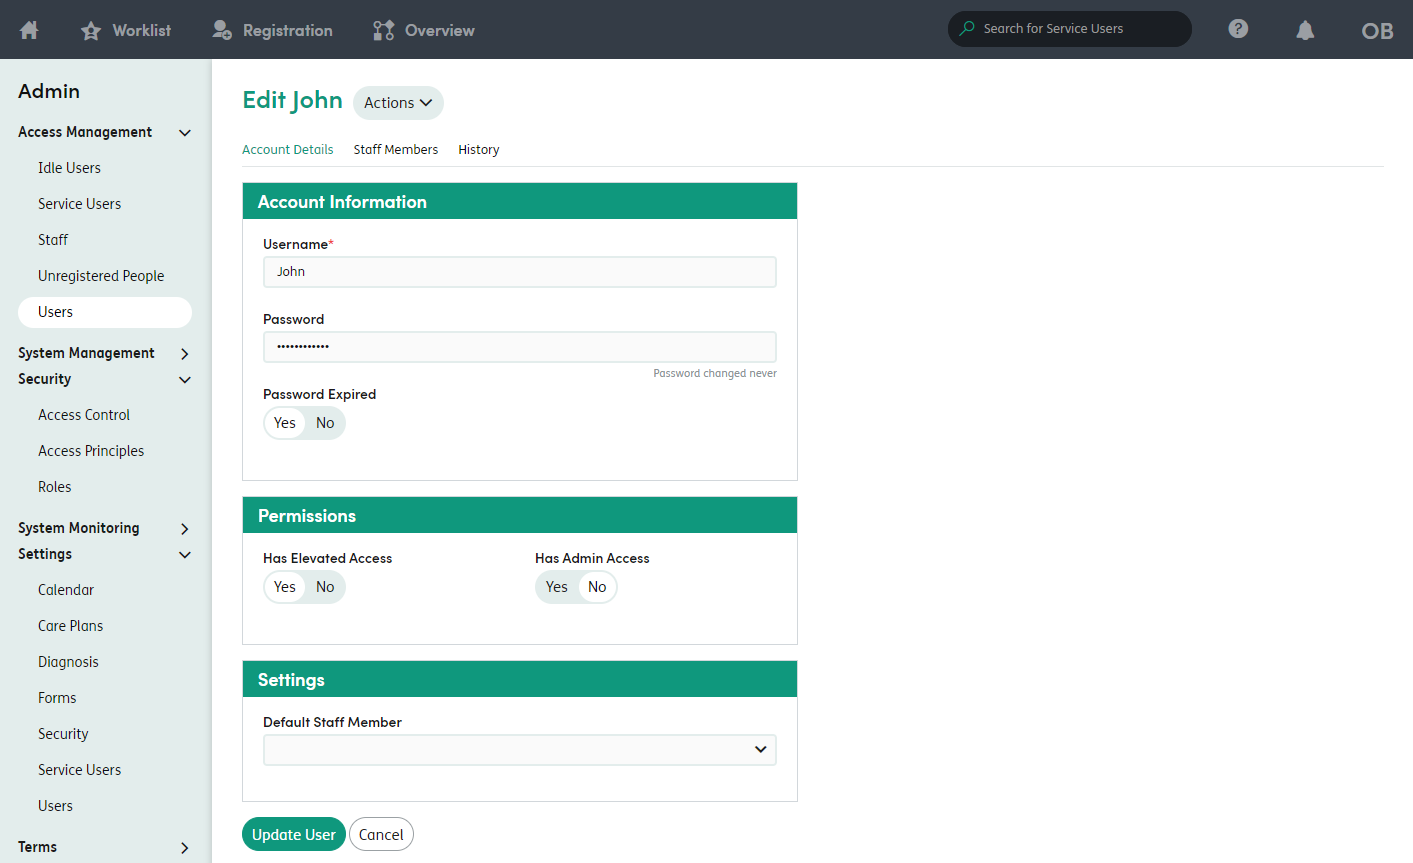
Edit any basic account details (including assigned staff members) then click the Update User button.
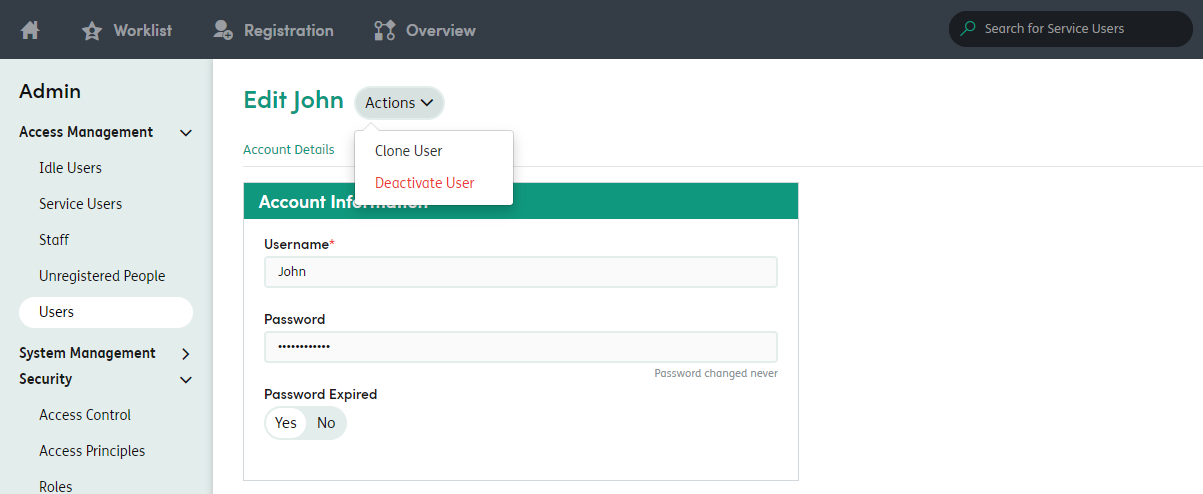
Alternatively, you can Clone or Deactivate the user whilst in the edit user screen using the Actions menu.
Clone Users
Users can quickly create other Users, Staff Members and Centres of Care by cloning in the Admin area. This will retain some of the existing associations and permissions for the clone.
- Cloning Users will clone the Staff Members assigned.
- Cloning Staff will clone Centres of Care access.
- Cloning Centres of Care will copy the assigned Staff and Forms.
Select the User you want to Clone and then click the Actions button next to their name. Select Clone User from the menu.
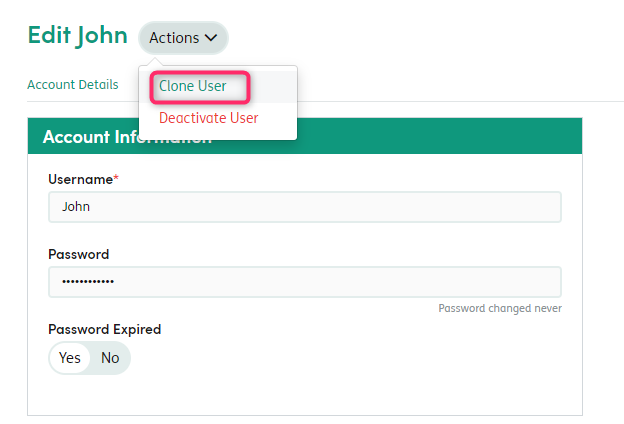
Enter a new username and password and select Clone User.

The new User will be created. Ensure that they have the correct Staff Member(s) assigned before passing them their login details.
Deactivate / Activate Users
There will be times when a User needs to be removed from Care Partner - for example when they have left the organisation. Click on their username in the User list to go to their Account Details screen. Click on the Actions menu and choose Deactivate User.

After clicking Deactivate User, the User will now be inactive, and they will no longer have access to Care Partner.
You can find a list of inactive users from the users tab, by clicking on the Inactive filter. The Inactive list will show all users that no longer have access to Care Partner.
Users on the Inactive list can be moved back to the Active list should they return to work.
To activate a user from the Inactive list, click on their name from the Inactive user list, then in the Edit User screen, click on the Activate User option from within the Actions menu.
The user will now be active again in Care Partner.
User Audit History
You can view and filter a user’s history in the History tab if your user acount has Admin Access. This displays the activity of the selected user, including logging in, registration of new users, forms viewed, edited and deleted, etc.
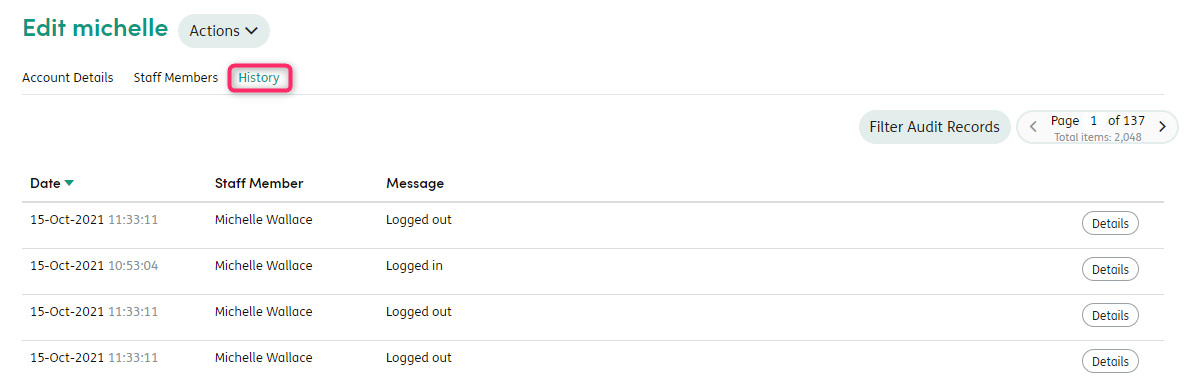
You can filter the user history using the Filter Audit Records feature. You are able to filter by start and end date, audit type and staff member, which is useful if the user is logging in on behalf on multiple staff members.