Tagging activities
Tags are a quick way to identify basic extra information about an activity form. Your system administrator can create and edit lists of tags which you can apply to your forms.
You can view, apply and remove tags at every stage of your interaction with an activity form. The process is very similar each time.
Tagging from the Activities tab
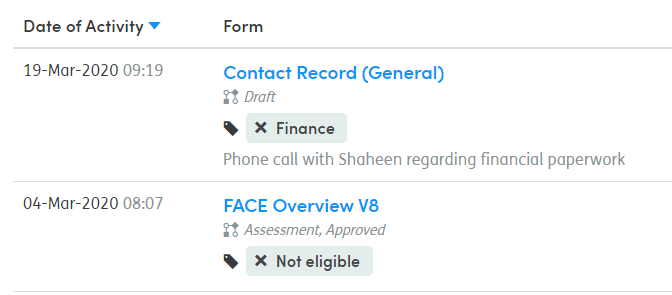
In the Activities tab, you’ll see the tag icon ![]() below the name of each activity in the list:
below the name of each activity in the list:

You’ll also see any tags you’ve already added.

Click the tag icon ![]() to add or remove tags:
to add or remove tags:

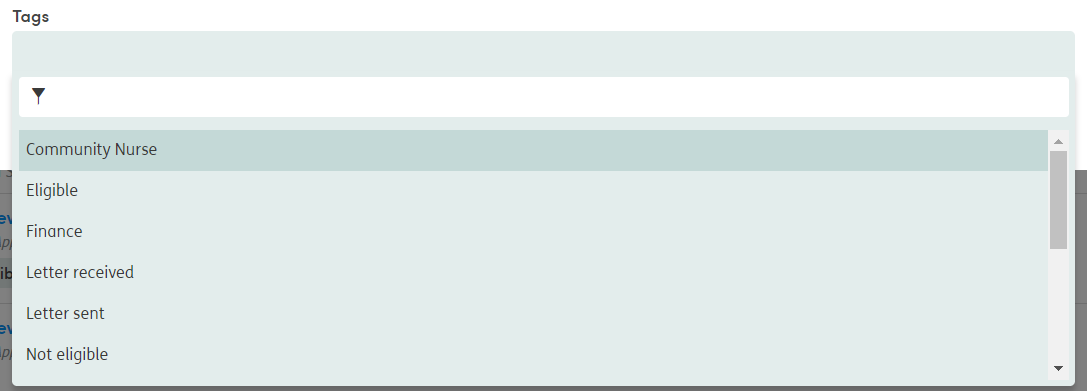
Click in the Tags field. A drop-down list of available tags will appear. If it’s a long list, you can narrow it down by typing in the field. Matching tags will appear in the list and you can click on the one you want to add.
You can add as many tags as you like in the same way.
To remove a tag, click on the tag name.

Then click on the cross alongside the tag and this will remove the tag from your selection. Click Save when you have finished. The updated tags will be visible in your list of activity forms.
Tagging a new activity
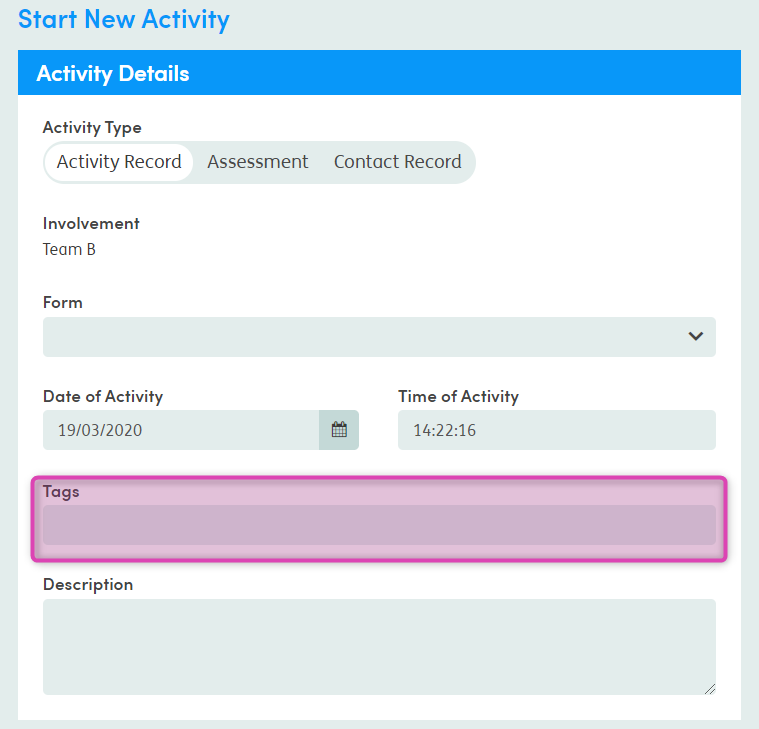
When you start a new activity, you will see the Tags field in the Start New Activity panel.

Click in the field to access the drop-down list of tags. If it’s a long list, you can narrow it down by typing in the field. Matching tags will appear in the list and you can click on the one you want to add.
To remove a tag, simply click on the cross in the tag field.
Tagging an existing activity
At the top-right of the screen of any activity you are working on, you’ll see the Tags tab:

You can view, add and remove tags here, in the same way as described above.
Filtering activities by tag
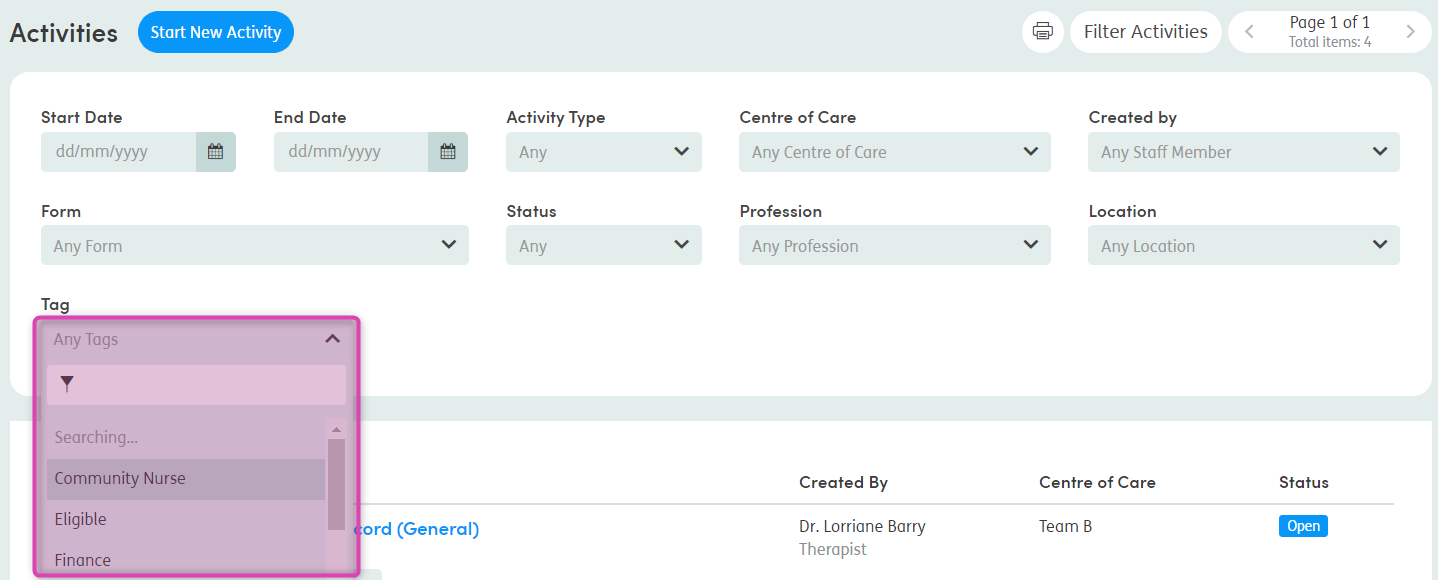
On the Activities tab, click the Filter Activities feature (on the top right of the screen).

You’ll see a Tag filter field. Click here to access the drop-down list of tags.
If it’s a long list, you can narrow it down by typing in the field. Matching tags will appear in the list and you can click on the one you want to filter by.
