Users
Users is the default tab in the People area. Click on the title of the tabs to switch between them.
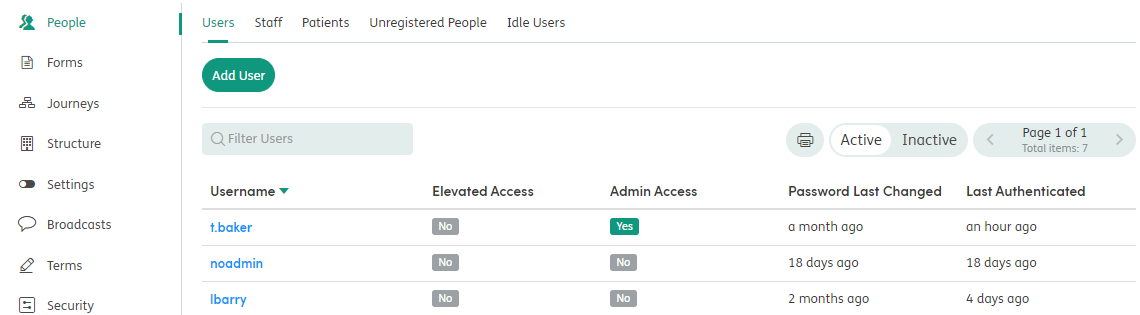
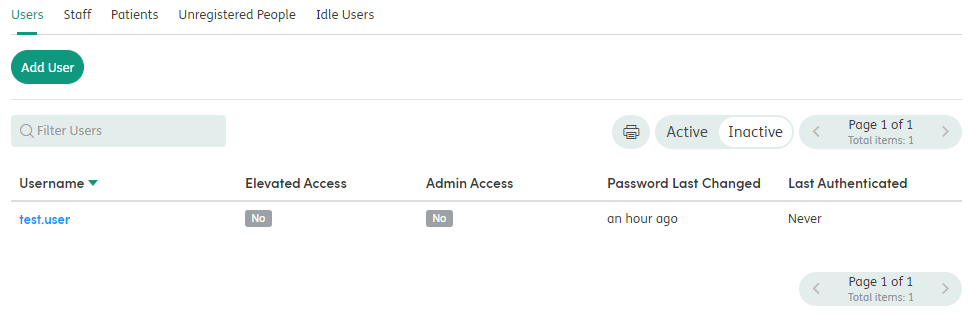
The Users tab includes the following features:
Adding Users: Users can be preconfigured in your system and controlled by single sign-on. You are also able to add external accounts if required.
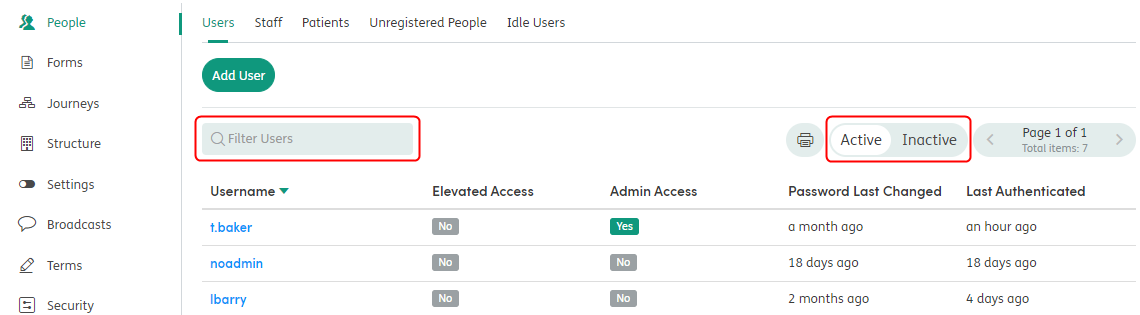
Filter Users: You can filter the user list by part or all of the username.
Active and Inactive: This is the default list of active users. To view the list of inactive users, click Inactive.
Pager: The list is grouped to show 15 users at a time. You can use the arrows to navigate through the list.
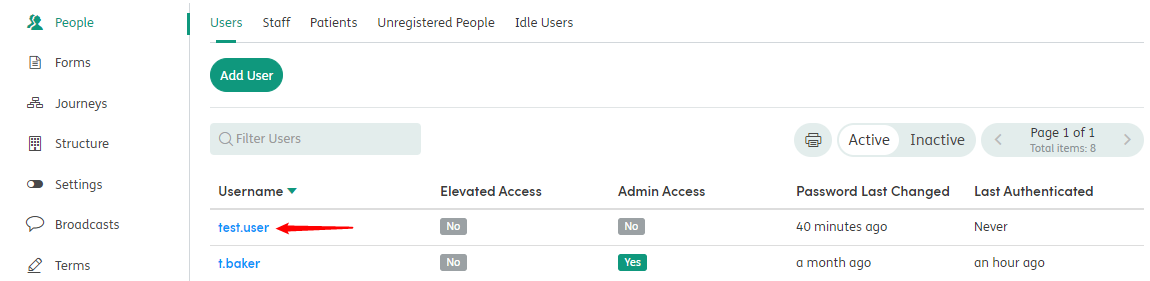
Username: Click the header and the user list will sort alphabetically.
Elevated Access: Click the header and the user list will sort into those who do not have Elevated Access and those who do.
Admin Access: Click the header and the user list will sort into those who do not have Admin access and those who do.
Password Last Changed: Click the header and the list will sort by the date the password was last changed.
Last Authenticated: This is the last time a user logged in. Click the header and the list will sort by the date users logged in.
Username: Click the username to open the user details. This will display the account details, which staff members are assigned and the user history.
View Users
By default all active users will be displayed in the Users tab. To view inactive users click on the Inactive setting.
Always search for users on the system before creating a new user account or cloning a user account, do this by typing in the filter users search field.
Create Users
To create a new System User account, go to the Users list and click the Add User button.

You will then need to enter the Username and Password for the new User. Both fields are mandatory.

Select whether the new user will be required to change their password when they first log in, using the Yes/No toggles.
Under the Permissions section, select whether the User will have:
Elevated Access - Admin access will be restricted to the People area only, allowing users to manage user accounts.
Admin Access - Allows users to perform all administrative functions e.g. user management, configuration of departments, form, terms, system settings etc.
Click the Add User button at the bottom of the screen when you have entered the relevant information. This information can be edited at any time.
You will be taken back to the user list and a confirmation message will show that the user has been successfully added. Your new user will now be available in the Users list.

Assigning Staff to Users
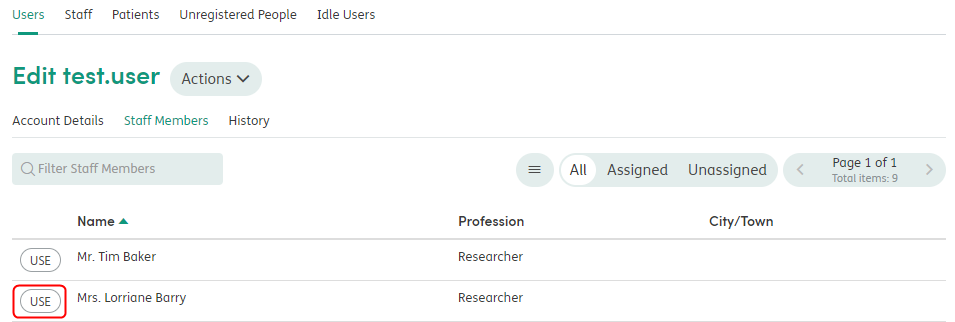
Before a user can login to the system, they must have at least one staff member assigned to them. Click on the username to go to the Account details screen, and select the Staff tab.

Search for the relevant Staff Member and click the USE button to the left of their name.
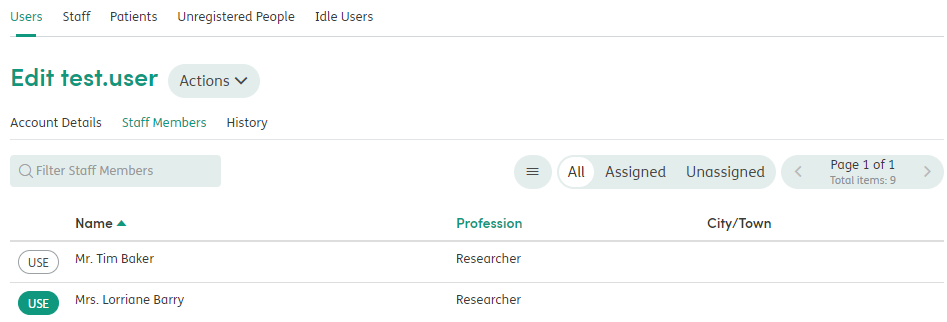
The USE button will turn green indicating that the staff member has been assigned to the User.
You can also quickly filter the Staff list by using the All, Assigned and Unassigned buttons.
If the relevant Staff Member is not available, you can add them to the system (for guidance on this refer to the Staff area).
Once a user account has been assigned a staff member that user account then becomes active on Atmoforms.
Edit Users
To edit an existing user account, select the Users tab and select the relevant username from the list. If you have difficulty finding the user in the list use the Filter Users search field or Pager.
The edit screen will then appear.
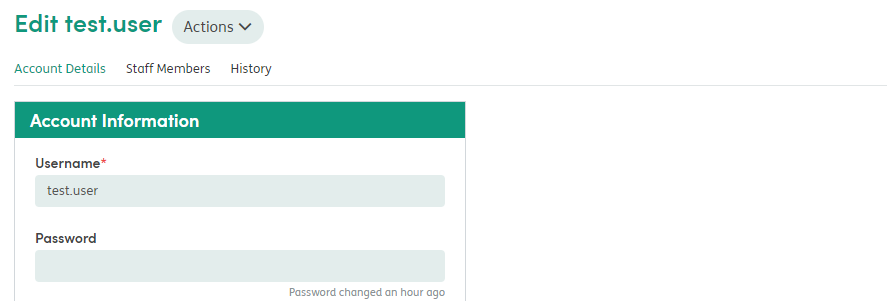
Edit any basic account details (including assigned staff members) then click the Update User button.

Alternatively, you can Clone or Deactivate the user whilst in the edit user screen using the Actions menu.
Clone Users
Users can quickly create other Users, Staff and Departments by cloning in the Admin area. This will retain some of the existing associations and permissions for the clone.
- Cloning Users will clone the Staff Members assigned.
- Cloning Staff will clone Department access.
- Cloning Departments will copy the assigned Staff and Forms.
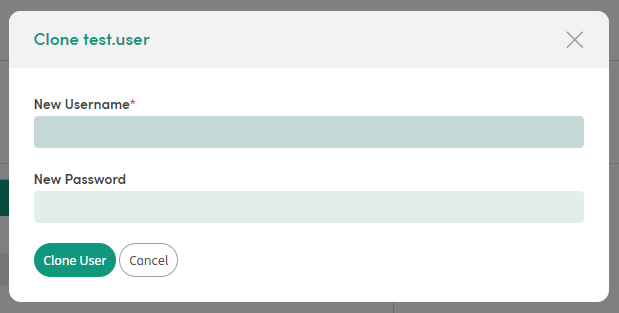
Select the User you want to Clone and then click the Actions button next to their name. Select Clone User from the menu.

Enter a new username and password and select Clone User.
The new User will be created. Ensure that they have Staff assigned before passing over their login details.
Deactivate / Activate Users
There will be times when a User needs to be removed from Atmoforms as they may have left the organisation. Click on their name in the User list to go to the Account Details screen. Click on the Actions menu and choose Deactivate User.

After clicking Deactivate User, the User will now be inactive, and they will no longer have access to Atmoforms.

You can find a list of inactive users from the users tab, by clicking on the Inactive filter.
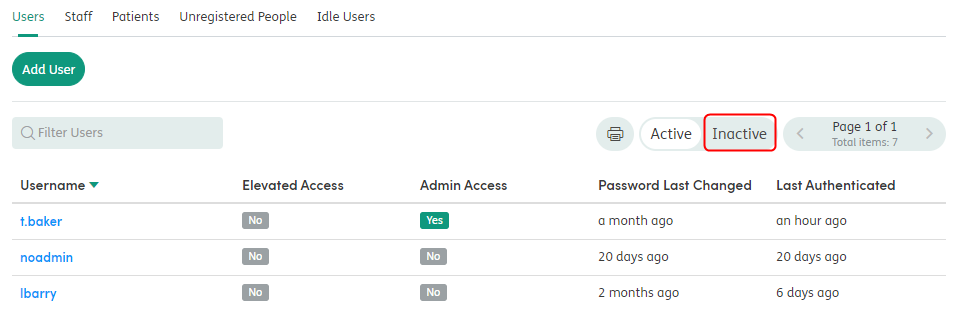
The Inactive list will show all users that no longer have access to Atmoforms.
Users on the Inactive list can be moved back to the Active list should they return to work.
To activate a user from the Inactive list, click on their name from the Inactive user list. This will open the Edit User screen.
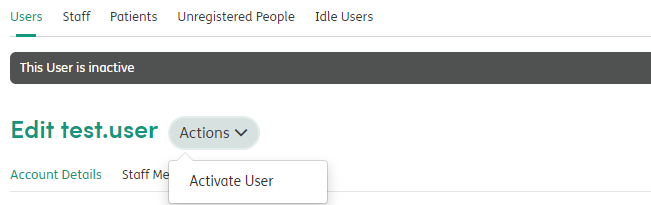
You will see the Actions menu to the right of their name. Click on the menu and select the Activate User option.
The user will now be active again in Atmoforms.

User Audit History
You can view and filter a user’s history in the History tab. This displays the activity of the selected user, including logging in, registration of new users, forms viewed, edited and deleted, etc.
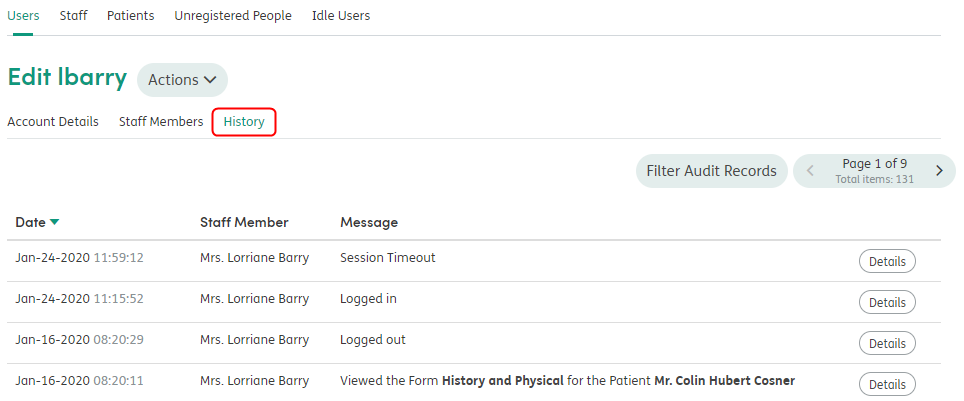
You can filter the user history using the Filter Audit Records feature. You are able to filter by start and end date, audit type and staff member, which is useful if the user is logging in on behalf on multiple staff members.