- Home
 Formulate Portal
-
Administrative functions
-
Creating users
-
Onboarding many users
Onboarding many users
Onboarding lots of new users is now really simple and efficient by using the new ‘invite users’ function. This will send an email link out to users inboxes and ask them to complete a self-registration. This is available to elevated users from the Admin tools menu.
-
1
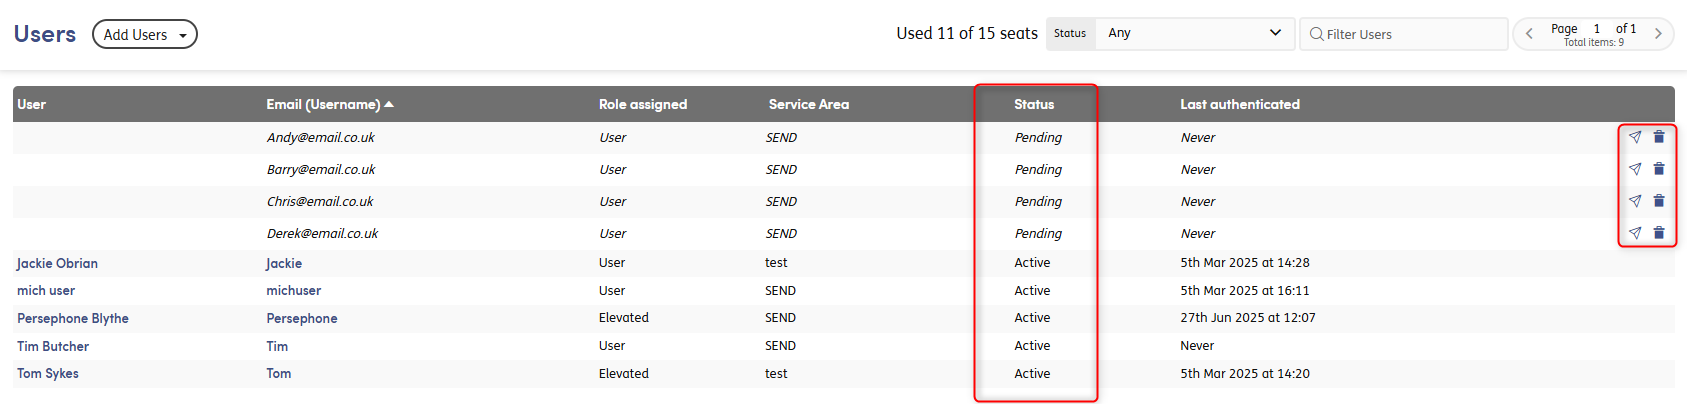
Access the Admin Tool
Click on your initials in the top right of the screen and navigate to ‘Access management’ and ‘Users’.
-
2
Locate the "Invite Users" Function
Click on the Add Users (+) icon and navigate to ‘Invite Users’ which is denoted with the paper plane icon.

-
3
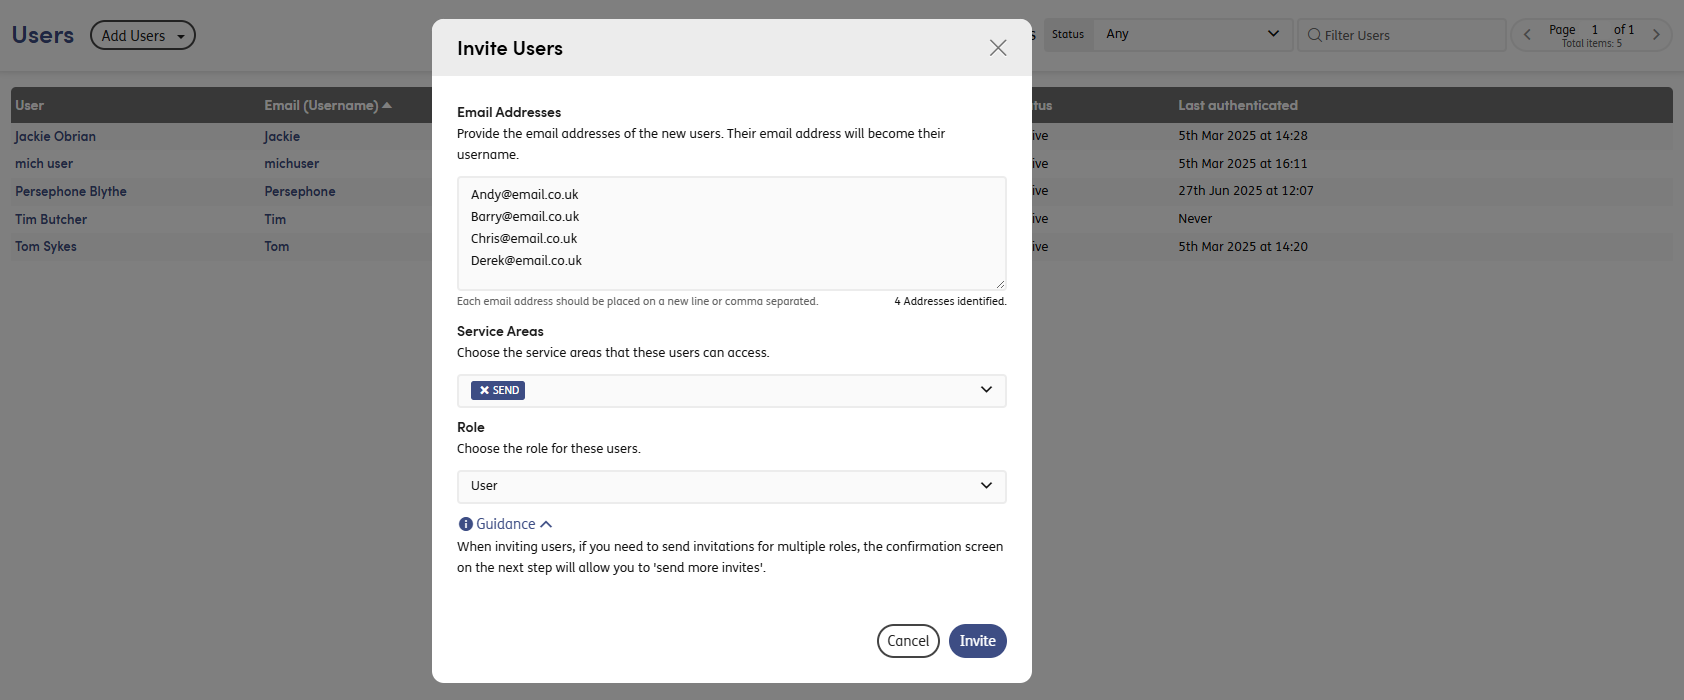
Prepare User Invitations
Type or paste the email addresses of the people you want to invite. You can put each email on its own line or separate them with commas.
When you enter the emails, the system will count how many it recognises. This helps you check for mistakes, if you expect to enter 10 but the count shows 9, you know there might be a typo.
Choose the service area and role that they would all have access to.
If you need to add a certain number of users to one service area and a different number to another, first invite all the users for one service area. Then use the Send more invites button to invite the others. You should do the same if the users need different access roles.
-
4
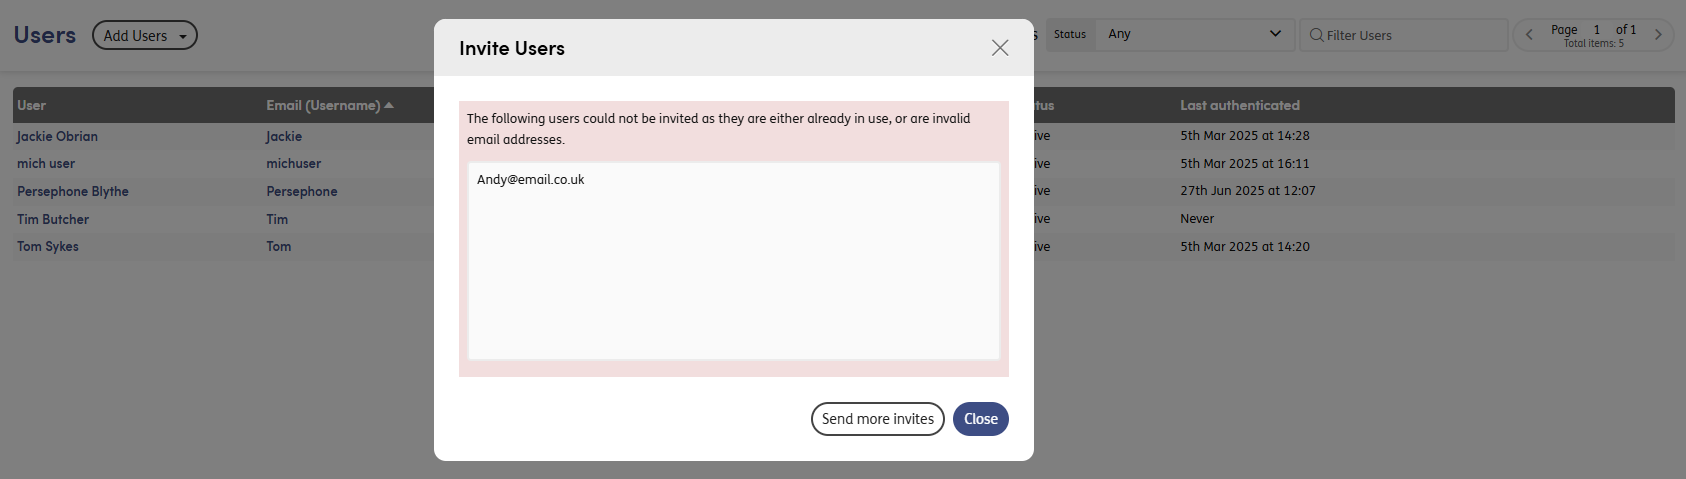
Send Invitation Emails
Click the ‘Invite’ button to send invitation links by email to the users you selected. A confirmation screen will then show how many emails were successfully sent. If any email addresses weren’t sent an invitation, they will be listed on this screen. This could be because the email was invalid or the user is already part of that organisation (regardless of service area).
-
5
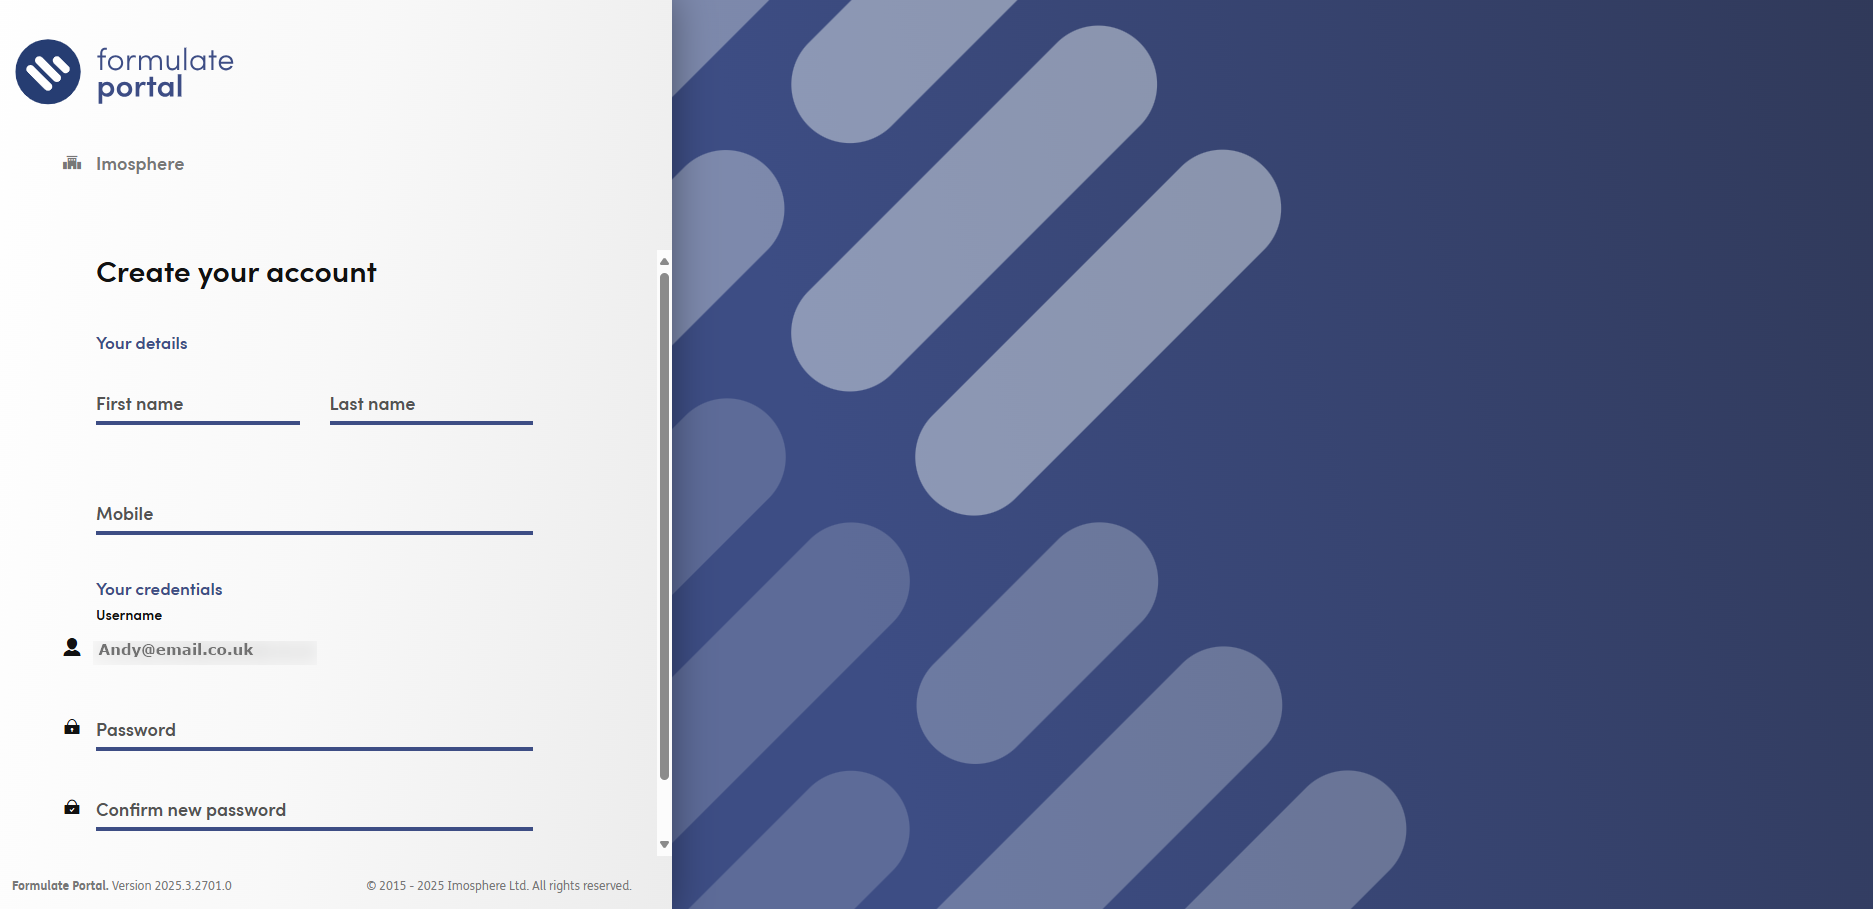
User Self-Registration
The invited user will get an email with a link to register for the application. They will need to enter the following information:
- First name
- Last name
- Mobile number
- Email address (this is already filled in and can’t be changed)
- Password
If two-factor authentication (2FA) is turned on for the organization, the user will be asked to set it up and can choose to use either mobile or email for verification.
After creating their account, the user will need to agree to the terms and conditions (EULA) before they can access the system.